


Page unavailable? Copy its Markdown and paste it into your chat.
Agent Mailbox quick start
Connect your AI agent to Ridian, create its own email address with one prompt and send a test email. Works with Claude, ChatGPT, any MCP client and Alvin.
Reviewed · 2026-10-09 / Ridian
In two steps your AI agent gets its own email address and sends its first message. You need a Ridian account; the Free plan includes one Agent Mailbox.
Choose your path:
- Your own agent such as Claude, ChatGPT, Cursor or Codex: start with step 1.
- Alvin in the Ridian app: nothing to connect. Go straight to step 2 with Alvin.
Step 1: Connect your agent
Section titled “Step 1: Connect your agent”- Claude: Open Ridian in the Claude directory and choose Connect.
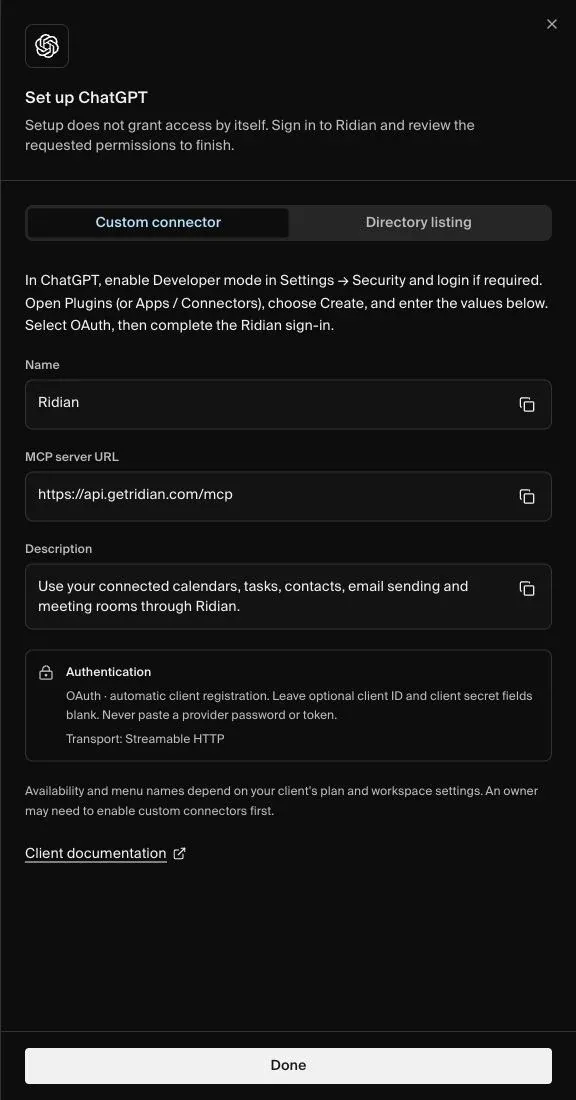
- ChatGPT: Follow the steps under AI & Assistants.
- Cursor: Follow the steps under AI & Assistants.
- Codex: Follow the steps under AI & Assistants.
- Claude Code: Follow the steps under AI & Assistants.
- Any MCP client: Remote MCP with OAuth, steps under AI & Assistants.
Claude: open Ridian in the Claude directory and choose Connect. Sign in to Ridian, or create your account, and approve the connection.
ChatGPT, Cursor, Codex, Claude Code and other MCP clients:
- Open AI & Assistants in Ridian. If you have no account yet, you create one there.
- Choose your client: ChatGPT, Cursor, Codex, Claude Code, or MCP for any other client. Ridian shows the exact steps and the server address for it.
- Sign in to Ridian in the window that opens and approve the connection.
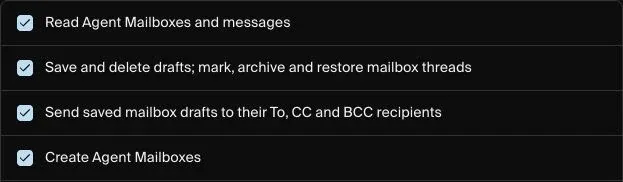
Your agent needs the Agent Mailbox permissions: read, write, send and create mailboxes. Full access, the default, includes all of them. If you choose Customize, keep them switched on. How permissions work
Connected your agent before Agent Mailbox was available? Reconnect it once in your client so it receives the new permissions.
Step 2: Create a mailbox and send a test email
Section titled “Step 2: Create a mailbox and send a test email”With a prompt
Section titled “With a prompt”Enter a name for the mailbox and the address that should receive the test email. Copy the prompt and send it to your agent.
Use @Ridian to create an Agent Mailbox named {name} and send a test message to {email}.Your agent creates the mailbox, sends the test email and tells you the new address, for example my-agent@ridianmail.com. The @Ridian at the start makes sure your agent uses Ridian for this request.
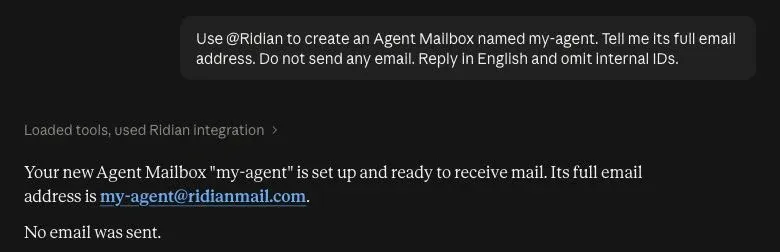
With Alvin in the app
Section titled “With Alvin in the app”Alvin is the agent built into Ridian, so there is nothing to connect. New Alvin access starts with Ask before changes; use the mode badge in the chat input to choose automatic execution if you want it. Open the prompt in Alvin, check it and send it:
Create an Agent Mailbox named {name} and send a test message to {email}.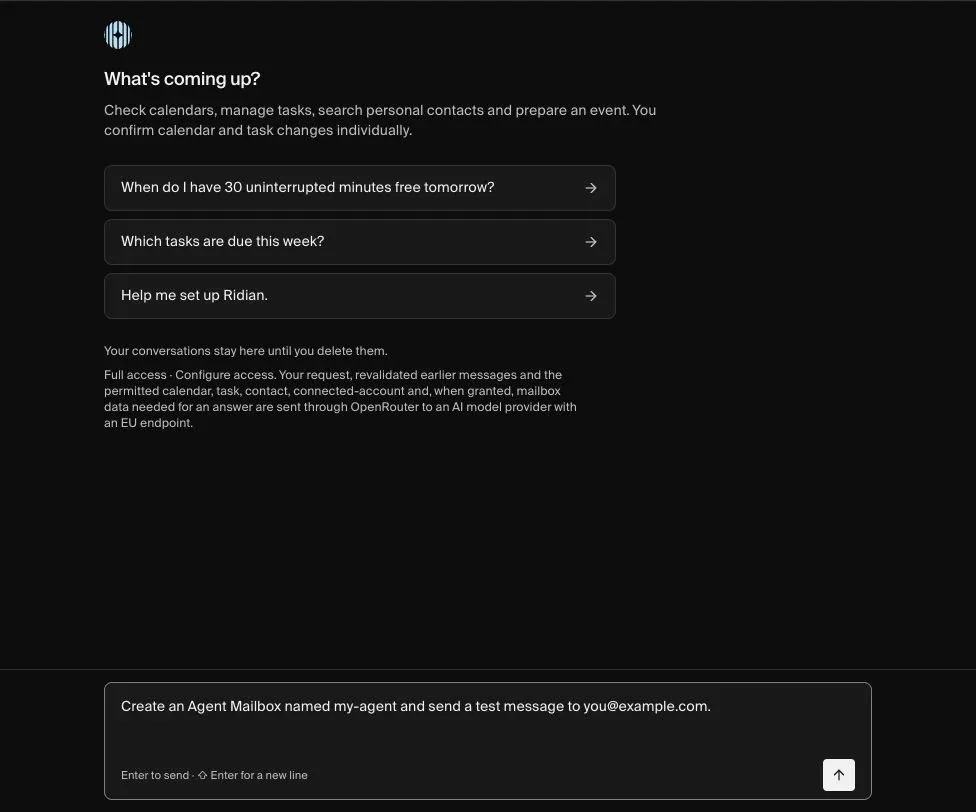
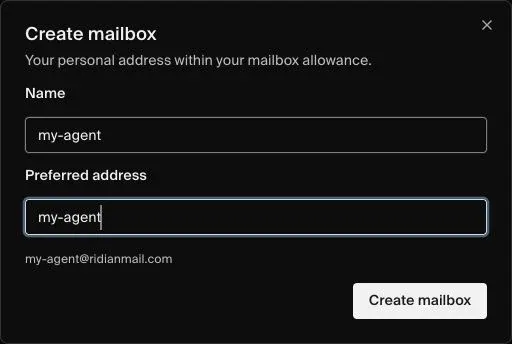
Prefer to click yourself? Open Agent Mailbox → Create mailbox, enter a name and address, then choose New message.
Step 3: Check the result
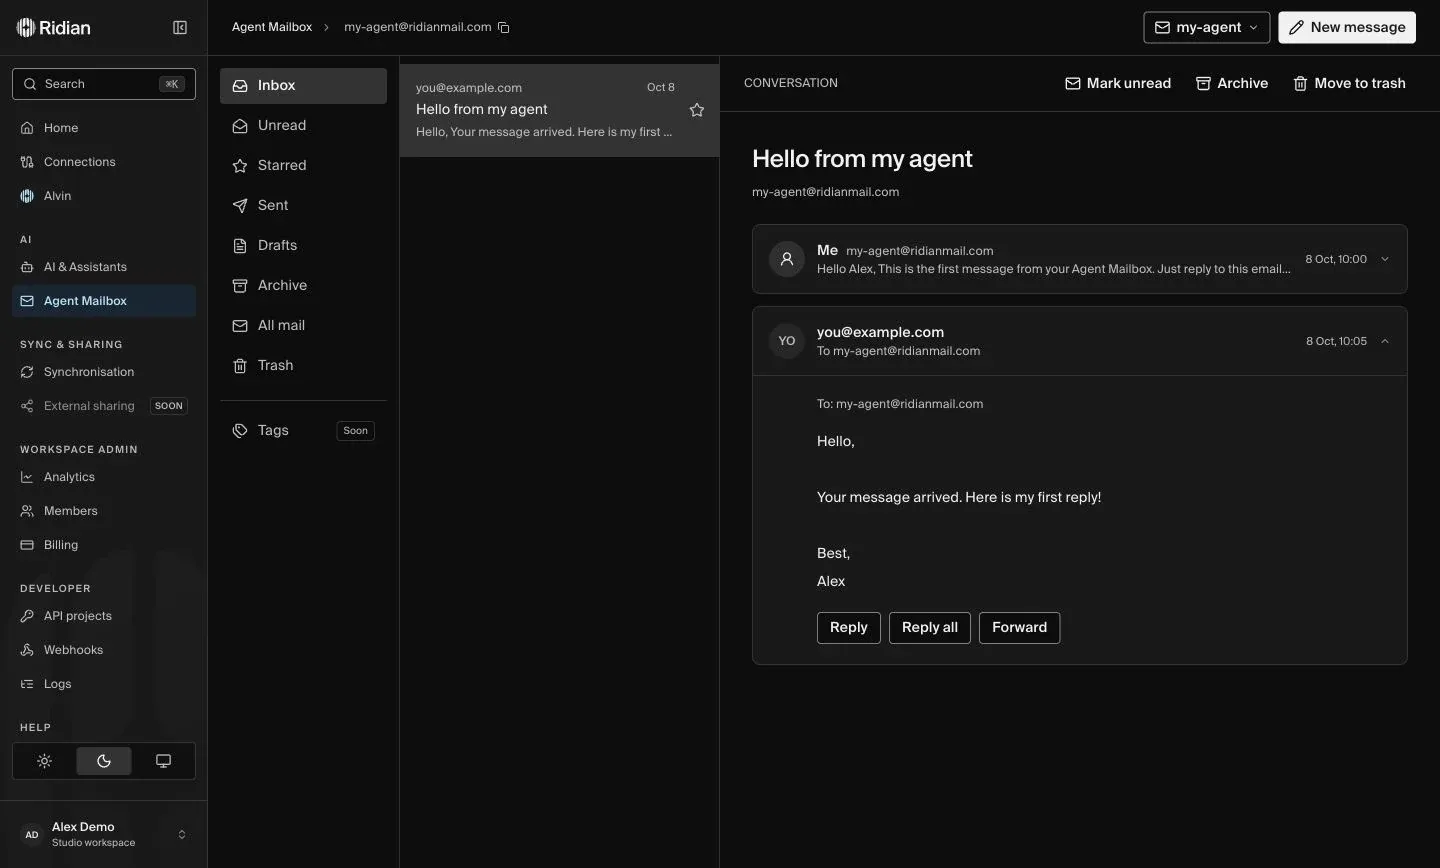
Section titled “Step 3: Check the result”- Open the inbox you sent the test to. The message comes from your new address at
ridianmail.com. - Reply to it. Your reply arrives in the Agent Mailbox within moments.
- Ask your agent to read it:
Use @Ridian to check my Agent Mailbox for new replies and summarize them.You see the whole conversation in Agent Mailbox in the app as well.
If something does not work
Section titled “If something does not work”- Your agent does not know the Agent Mailbox tools: reconnect Ridian in your client so it loads the current tools and permissions. Assistant troubleshooting
- The name is taken: choose another name. Addresses use 3–40 lowercase letters, digits or hyphens.
- All mailboxes in your plan are in use: upgrade under Billing for more Agent Mailboxes.
Next steps
Section titled “Next steps”- Use cases and prompts: sign-in codes, invoices, replies and scheduling.
- Use and manage Agent Mailbox: folders, attachments, limits and permissions in detail.